DevOps with Docker (Course)
Date: 2026-02-26
Intro
This is my summary/takeaway from a free Docker course provided by The University of Helsinki MOOC Centre.
Docker —> A set of tools used to deliver software in containers.
Containers are packages of software. They are isolated so that they don’t interfere with each other or the software running outside them.
Docker offers tools to enable interaction between containeres.
Benefits of Containers
Solves the “Works on my Machine” Problem —> Developers can run an application inside a container, which packages everything needed for it to run including its source code.
Isolated Environments —> With containers, it’s possible to run different applications on the same machine even if they require different version of same dependencies for them to run. Each application is packaged on its own container with its requirements. Without containers, running them side by side would be a disaster.
Development —> Containers ease up development processes. Lets say you are brought into a team developing a web application that uses multiple services like posgres database, redis e.t.c, with a few commands, you can spin up containers running these services instead of installing them manually on your machine.
Scaling —> With advanced tooling, we can spin up multiple containers instantly and load balance traffic between them. This is useful for applications with higher demands.
Images and Containers
An image provides all the necessary instructions and dependencies for the container to run. A docker image is a file that is immutable, meaning it cannot be changed or edited. Creating a new image happens by starting from a base image and adding new layers to it.
docker imagesordocker image ls—> List all your images.docker pull {name}:{tag}—> Pull or download an image from the registry if not available locally.docker rmi {name}:{tag}—> Delete image. An image file is built from a file named Dockerfile and it looks like this by default
FROM <image>:<tag>

RUN <install some dependencies>

CMD <command that is executed on `docker run container`>
A Dockerfile is the instruction set for building an image.
docker build -t {name}:{version/tag} {directory where the Dockerfile is}—> Builds the docker image from the Dockerfile.
Containers contain the application and what is required to execute it. They are isolated environments in the host machine with the ability to interact with each other and the host machine itself.
docker ps—> List all running containers.docker ps -a—> List all containers whether running or stopped.docker run {name}:{tag}—> Creates a container from a given image and starts it. If not found locally, the image will automatically be pulled from the registry.docker logs {containerID}—> View logs of the service running inside the container which are present at the time of execution.docker start {containerID}—> Start one or more stopped containers.docker stop {containerID}—> Stop the running process of a container.docker rm {containerID}—> Delete container.docker attach {containerID}—> Attaching back to a container that was previously run on detached mode.
For the above commands, container name can be used instead of container ID.
Running and stopping containers
Lets say we want to spin up a container running ubuntu image,
docker run ubuntu
This does nothing, the container is started and stopped immediately because it tries to start a shell inside it and fails. We need to add a few flags to the docker command to be able to interact with the container.
docker run -t ubuntu
The above command with the t flag spins up another container and it creates a tty that enables us to type commands that will not be sent to the container unless we add another i flag that will enable us to fully interact with the container.
docker run -it ubuntuenables full interaction mode with the container.
So far we know of flags we can use in docker commands,
-t—> tty(forcing the docker daemon to allocate a terminal for the container)-i—> interactive mode-d—> spinning a container in detached mode from the cli--name—> giving a container a custom name
Lets say we start another container like this;
-$ docker run -d -it --name looper ubuntu sh -c 'while true; do date; sleep 1; done'
The argument after specifying the ubuntu image overrides the default command baked into the image’s Dockerfile (the CMD instruction). This argument becomes the PID 1 inside the container. The argument is a script that is executed when the container is run and it prints out the current date and time every second.
docker logs looper—> Inspecting the logs of the container at the current state of execution of the command. It’s like taking the current snapshot of the logs.docker logs -f looper—> Inspecting the live state of the container. Logs will be shown in real time.
[astro@legion ~]$ docker run -d -it --name looper ubuntu sh -c 'while true; do date; sleep 1; done'
8952e5aab52889d264a5c6b08ad7e8a069b769b77ec40a3cdf47b8fc7bac6416
[astro@legion ~]$ docker logs looper
Sun Mar  8 18:36:53 UTC 2026
Sun Mar  8 18:36:54 UTC 2026
Sun Mar  8 18:36:55 UTC 2026
Sun Mar  8 18:36:56 UTC 2026
Sun Mar  8 18:36:57 UTC 2026
Sun Mar  8 18:36:58 UTC 2026
Sun Mar  8 18:36:59 UTC 2026
Sun Mar  8 18:37:00 UTC 2026
Sun Mar  8 18:37:01 UTC 2026
[astro@legion ~]$ docker logs -f looper
Sun Mar  8 18:36:53 UTC 2026
Sun Mar  8 18:36:54 UTC 2026
Sun Mar  8 18:36:55 UTC 2026
Sun Mar  8 18:36:56 UTC 2026
Sun Mar  8 18:36:57 UTC 2026
Sun Mar  8 18:36:58 UTC 2026
Sun Mar  8 18:36:59 UTC 2026
Sun Mar  8 18:37:00 UTC 2026
Sun Mar  8 18:37:01 UTC 2026
docker exec
This command is used to execute commands inside a running container e.g.
docker exec {containerID} <command>
We can execute a bash shell in a container in interactive mode and enter in a bash session where any commands can be executed;
[astro@legion ~]$ docker exec -it test bash
root@097a497cf9a4:/# ls
bin  boot  dev  etc  home  lib  lib64  media  mnt  opt  proc  root  run  sbin  srv  sys  tmp  usr  var
root@097a497cf9a4:/# ps aux
USER         PID %CPU %MEM    VSZ   RSS TTY      STAT START   TIME COMMAND
root           1  0.0  0.0   2808  1456 pts/0    Ss+  07:48   0:00 sh -c while true; do echo "Input website:"; r
root           7  0.0  0.0   4596  3888 pts/1    Ss   07:48   0:00 bash
root          16  0.0  0.0   7896  3888 pts/1    R+   07:48   0:00 ps aux
root@097a497cf9a4:/# exit
exit
[astro@legion ~]$
In-depth dive into images
Images are the basic building blocks for containers and other images. Images are built from a Dockerfile. Container images are composed of layers, and once created, they are immutable and read-only. Each instruction during image build creates a new layer.
Each layer in an image contains a set of filesystem changes - additions, deletions, or modifications. For example;
- The first layer adds basic commands and a package manager.
- The second layer installs a python runtime and pip for dependency management.
- The third layer copies in an application’s specific requirements.
- The fourth layer installs that application’s specific dependencies.
- The fifth layer copies in the actual source code for the application.
This is beneficial because it allows layers to be reused between images. If I wanted to create another python application’s image, I can leverage the same python runtime image. Builds are faster and it reduces the amount of storage used.
Layering is made possible by content-addressable storage and union filesystems. After each layer is downloaded, it is extracted into its own directory on the host filesystem. When a container is ran from an image, a union filesystem is created where layers are stacked on top of each other, creating a new and unified view. When the container starts, its root directory is set to the location of this unified directory, using chroot.
Containerizing a simple application
Here, I will create a simple bash script hello.sh and create its image. Before everything else, execution permissions should be added chmod +x.
#!/bin/sh

echo "Hello, docker!"
To create an Image from it, we will have to create its Dockerfile that declares all its dependencies;
# Starting from the alpine image that is smaller
FROM alpine:3.21

# /usr/src/app as the workdir. The instructions below will be executed in this location
WORKDIR /usr/src/app

# Copy the hello.sh file from this directory to /usr/src/app creating /usr/src/app/hello.sh
COPY hello.sh .

# When running the container, the following command will be executed ./hello.sh
CMD ["./hello.sh"]
After this, we use the docker build -t hello-docker . command that will build an image called hello-docker from the Dockerfile in the specifies directory ..
[astro@legion docker-course-tests]$ docker build -t hello-docker .
DEPRECATED: The legacy builder is deprecated and will be removed in a future release.
            Install the buildx component to build images with BuildKit:
            https://docs.docker.com/go/buildx/

Sending build context to Docker daemon  3.072kB
Step 1/4 : FROM alpine:3.21
3.21: Pulling from library/alpine
bc1da058f299: Pulling fs layer
c976602d749e: Download complete
ff714ccdc389: Download complete
bc1da058f299: Download complete
bc1da058f299: Pull complete
Digest: sha256:c3f8e73fdb79deaebaa2037150150191b9dcbfba68b4a46d70103204c53f4709
Status: Downloaded newer image for alpine:3.21
 ---> c3f8e73fdb79
Step 2/4 : WORKDIR /usr/src/app
 ---> Running in cb086fff72ae
 ---> Removed intermediate container cb086fff72ae
 ---> fc96a4bab0e8
Step 3/4 : COPY hello.sh .
 ---> edc261c8e673
Step 4/4 : CMD ["./hello.sh"]
 ---> Running in 81cf4b0825b7
 ---> Removed intermediate container 81cf4b0825b7
 ---> 0be180dfad80
Successfully built 0be180dfad80
Successfully tagged hello-docker:latest
The application can now be started in a container using docker run hello-docker.
[astro@legion docker-course-tests]$ docker run hello-docker
Hello, docker!
During the build, there are 3 steps from the output:[1/3], [2/3], [3/3]. These steps represent layers of the image and each step is a new layer on top of another starting from the base image layer (alpine:3.21). Layers can work as cache as I stated early in this doc, meaning they can be reused and can save on build time.Lets say we were to edit the hello.sh file only, the COPY command in the Dockerfile will detect this change and the build will run from step 3 since this is the only layer that has been modified. The previous layers are reused.
ENTRYPOINT in a Dockerfile
To understand the importance of ENTRYPOINT in a Dockerfile, a program yt-dlp is added to an image. This is a command-line line tool that downloads Youtube videos. An interactive session is set up to test how to install it, how it works and its dependencies.
[astro@legion docker-course-tests]$ docker run -it ubuntu:24.04
root@0ed8cc1335d4:/# curl -L https://github.com/yt-dlp/yt-dlp/releases/latest/download/yt-dlp -o /usr/local/bin/yt-dlp
bash: curl: command not found
root@0ed8cc1335d4:/# apt-get update && apt-get install -y curl
So curl is needed to pull the program from github and its set up locally.
Next, permissions are added to run the downloaded binary:
root@0ed8cc1335d4:/# chmod a+rx /usr/local/bin/yt-dlp
root@0ed8cc1335d4:/#
yt-dlp’s documentation also mentions that Python and ffmpeg are needed to run the program which need to be downloaded. After installing all those, the program works, and it accepts urls of video of youtube as arguments so that they can be downloaded:
root@0ed8cc1335d4:/# yt-dlp

Usage: yt-dlp [OPTIONS] URL [URL...]

yt-dlp: error: You must provide at least one URL.
Type yt-dlp --help to see a list of all options.
root@0ed8cc1335d4:/#
After understanding how the program works, we now know what to include in the Dockerfile so that an image can be built from it starting FROM ubuntu:24.04. It is advised to keep the most prone-to-change rows at the bottom to preserve the cached layers.
FROM ubuntu:24.04

WORKDIR /mydir

RUN apt-get update && apt-get install -y curl python3 ffmpeg

RUN curl -L https://github.com/yt-dlp/yt-dlp/releases/latest/download/yt-dlp -o /usr/local/bin/yt-dlp

RUN chmod a+x /usr/local/bin/yt-dlp

CMD ["/usr/local/bin/yt-dlp"]
The image is then built from the above Dockerfile and ran as a container:
[astro@legion docker-course-tests]$ docker build -t yt-dlp1 .
DEPRECATED: The legacy builder is deprecated and will be removed in a future release.
            Install the buildx component to build images with BuildKit:
            https://docs.docker.com/go/buildx/

Sending build context to Docker daemon  4.096kB
Step 1/6 : FROM ubuntu:24.04
 ---> d1e2e92c075e
Step 2/6 : WORKDIR /mydir
 ---> Using cache
 ---> 66d24fb11ba7
Step 3/6 : RUN apt-get update && apt-get install -y curl python3 ffmpeg
 ---> Using cache
 ---> c4a5dacf97a1
Step 4/6 : RUN curl -L https://github.com/yt-dlp/yt-dlp/releases/latest/download/yt-dlp -o /usr/local/bin/yt-dlp
 ---> Using cache
 ---> 3bbba8e8cf48
Step 5/6 : RUN chmod a+x /usr/local/bin/yt-dlp
 ---> Using cache
 ---> 63c3d0191641
Step 6/6 : CMD ["/usr/local/bin/yt-dlp"]
 ---> Running in 9f1b0caaf645
 ---> Removed intermediate container 9f1b0caaf645
 ---> 04b1aa37ca61
Successfully built 04b1aa37ca61
Successfully tagged yt-dlp1:latest
[astro@legion docker-course-tests]$ docker run yt-dlp1

Usage: yt-dlp [OPTIONS] URL [URL...]

yt-dlp: error: You must provide at least one URL.
Type yt-dlp --help to see a list of all options.
[astro@legion docker-course-tests]$
The image requires the URL as an argument for the program to work but we can’t just add it in the docker run command as it will just replace the CMD command baked into the Dockerfile and it will not do anything:
[astro@legion docker-course-tests]$ docker run yt-dlp1 'https://www.youtube.com/watch?v=uTZSILGTskA
'
docker: Error response from daemon: failed to create task for container: failed to create shim task: OCI runtime create failed: runc create failed: unable to start container process: error during container init: exec: "https://www.youtube.com/watch?v=uTZSILGTskA\n": stat https://www.youtube.com/watch?v=uTZSILGTskA
: no such file or directory

Run 'docker run --help' for more information
[astro@legion docker-course-tests]$
The current CMD command in the Dockerfile is /usr/local/bin/yt-dlp and it needs a URL from Youtube for it to download the video. The only way to achieve this is by replacing CMD with ENTRYPOINT:
FROM ubuntu:24.04

WORKDIR /mydir

RUN apt-get update && apt-get install -y curl python3 ffmpeg

RUN chmod a+x /usr/local/bin/yt-dlp

# Replacing CMD with ENTRYPOINT
ENTRYPOINT ["/usr/local/bin/yt-dlp"]
With ENTRYPOINT, docker run now executed the combined /usr/local/bin/yt-dlp https://www.youtube.com/watch?v=uTZSILGTskA inside the container.
I was scrolling through X and found this amazing explanation of CMD and ENTRYPOINT:
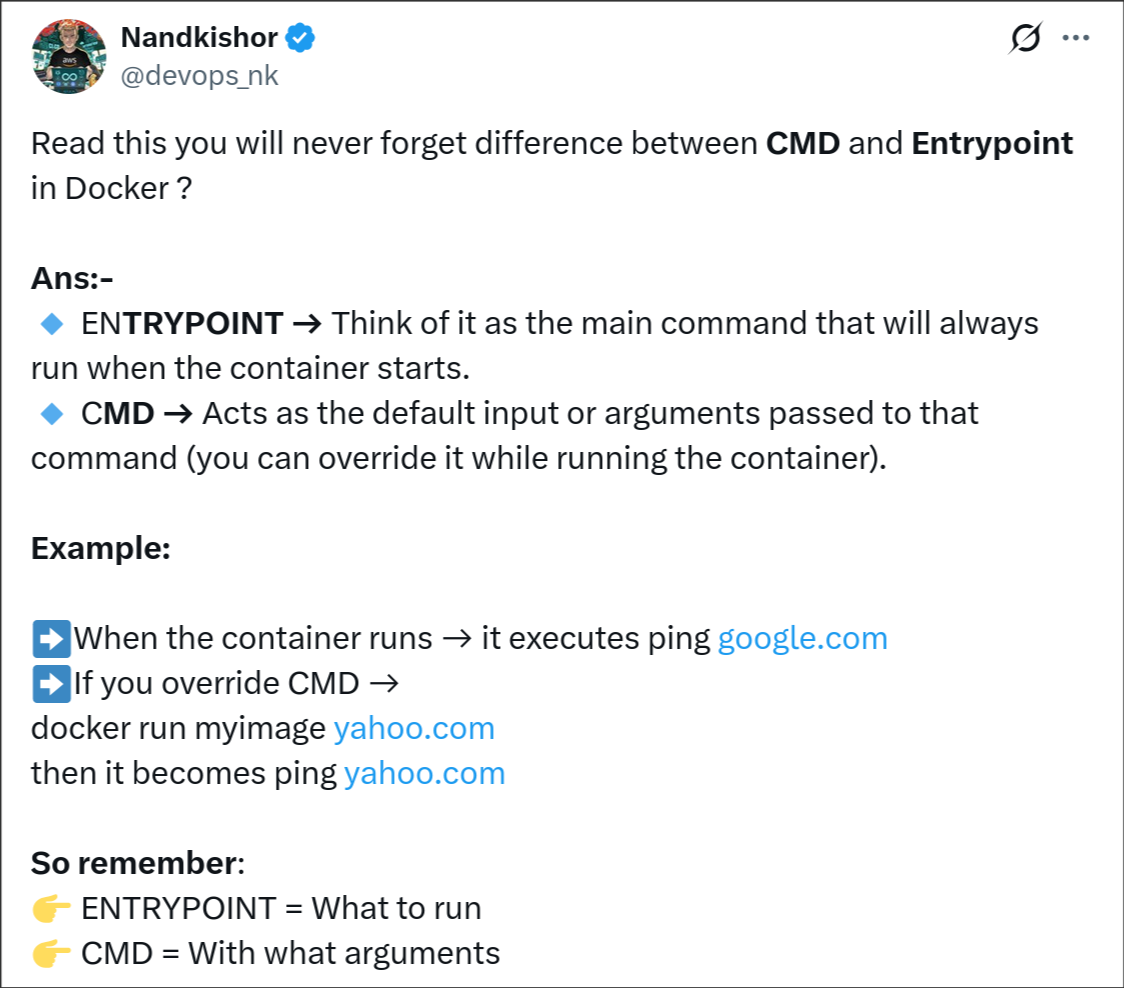
Also by default, the ENTRYPOINT in Docker is set as /bin/sh -c and this is passed if no entrypoint is set. This is why giving the path to a script file previously as CMD works. A CMD without an ENTRYPOINT defined in the Dockerfile automatically becomes a parameter to /bin/sh -c.
If an Image defines both, then the CMD is used to give the default arguments to the ENTRYPOINT and the CMD can be overridden in the docker run command.
Docker Volumes and Bind Mounts
These are ways to persist data outside the container’s ephemeral storage but they function different. Docker volumes are managed by docker while bind mounts are manually managed by the user. For a bind mount, we define the directory on the host machine to be mounted to a container.
“Volumes are persistent data stores for containers, created and managed by Docker. You can create a volume explicitly using the
docker volume createcommand, or Docker can create a volume during container or service creation.” – docker docs
We will get back to the yt-dlp program that downloaded videos from youtube.